
The default “Reduce File Size” option in OSX Preview often leaves you with undesirable results, pixellated images or unreadable text. If you’ve ever wished for the ability to control the quality/filesize balance, follow the instructions below:
- Launch the ColorSync Utility in Applications > Utilities, and click on Filters.
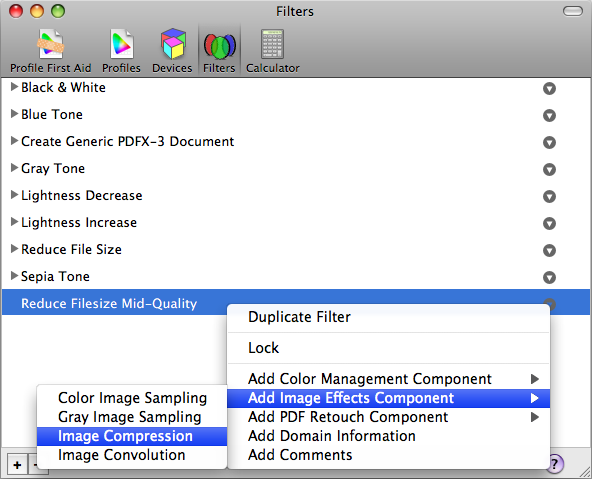
- Click on the Plus sign button at the bottom left to add a new custom Filter, I called mine “Reduce Filesize Mid-Quality.”
- Click on the little triangle to the right of the filter to add an effect, select Image Effects > Image Compression.
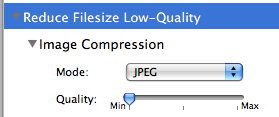
- Choose JPEG as the Mode, and drag the slider to select the quality level you want. When I experimented with different levels, I found that the Min setting actually yields a pretty good quality, and results in the smallest filesize.
- Now in Preview, open the PDF you would like to shrink, go to File > Save As and select PDF as the Format and change the Quartz Filter to the one created above, and click on Save.

- Enjoy your new smaller PDF!
The file I tested with shrank from 12.2 MB to 1.7 MB, so the difference is substantial.
