Congratulations! You rolled your film properly, read your light meter to create well-exposed negatives, and processed your film correctly! Now that you have your perfectly exposed, in-focus negative, you now need to learn about your enlarger and paper-processing chemicals to make successful prints. Unlike Digital Photography where you can press random buttons until a picture looks good, you will have to understand your tools and chemistry in order to make the beautiful, spectacular pictures you see on your film.
STEP 1: CHOOSE A NEGATIVE
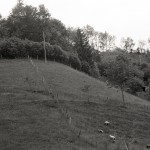
- Look at your contact sheet and choose an image based on composition and lighting

Nice lighting and composition!
STEP 2: LOOK CLOSER
- Check your negative on the lightbox with a magnifying glass to see if you image/subject is in focus
Nice lighting and composition, but out of focus! 🙁
STEP 3: PREPARE YOUR ENLARGER
- Set your Easel to the size you want to print
- Check the height of your enlarger head
- Check your focus with the Focus Scope (you should be able to see the grain of your negative through the focus scope)
- Set your Aperture to f/8 or f/5.6 for printing a picture
STEP 4: CHOOSE A FILTER
- Filters control contrast – the degree of difference between tones (aka: blacks, whites, and grays)
- The best filters to start with will be between # 2 – 3
-

- HIGH CONTRAST images will have dark shadows and bright highlights, but few grays between them.
-

- LOW CONTRAST images will have a wide range of grays, but no true black or white.
-

- A good print will have a true black, true white, and a range of grays between.
STEP 5: MAKE A TEST STRIP TO FIND YOUR CORRECT EXPOSURE
-

- A good test strip will be under-exposed on one side and over-exposed on the other. Somewhere between will have your correct exposure
-

- An under-exposed print will have blown-out highlights and no true black
-

- An over-exposed image will have no detail in the shadows and no true whites
-

- A good print will have details in the highlights/shadows and have true black/white with a range of gray between.
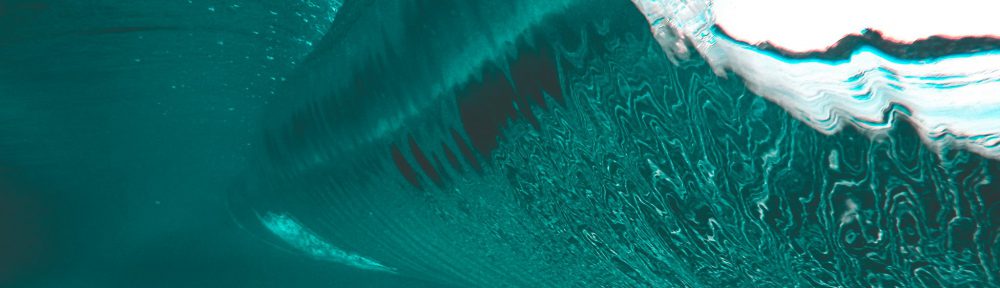
STEP 6: DETERMINE IF YOU NEED ANY FINISHING TOUCHES
- If there’s a part of your print that needs to get darker, you can burn your image by selectively adding more light. Ask your teacher to show you how to do this.
-
- The human eye is drawn to the brightest part of a composition. Here the bright sky is carrying the viewer’s eye out to the edges of the frame.
-

- Darkening super bright/white edges prevents the viewer’s eyes from moving out of the composition, but back at your main subject.